
The Separate results page installation creates a search view where search results are displayed on a separate results page.
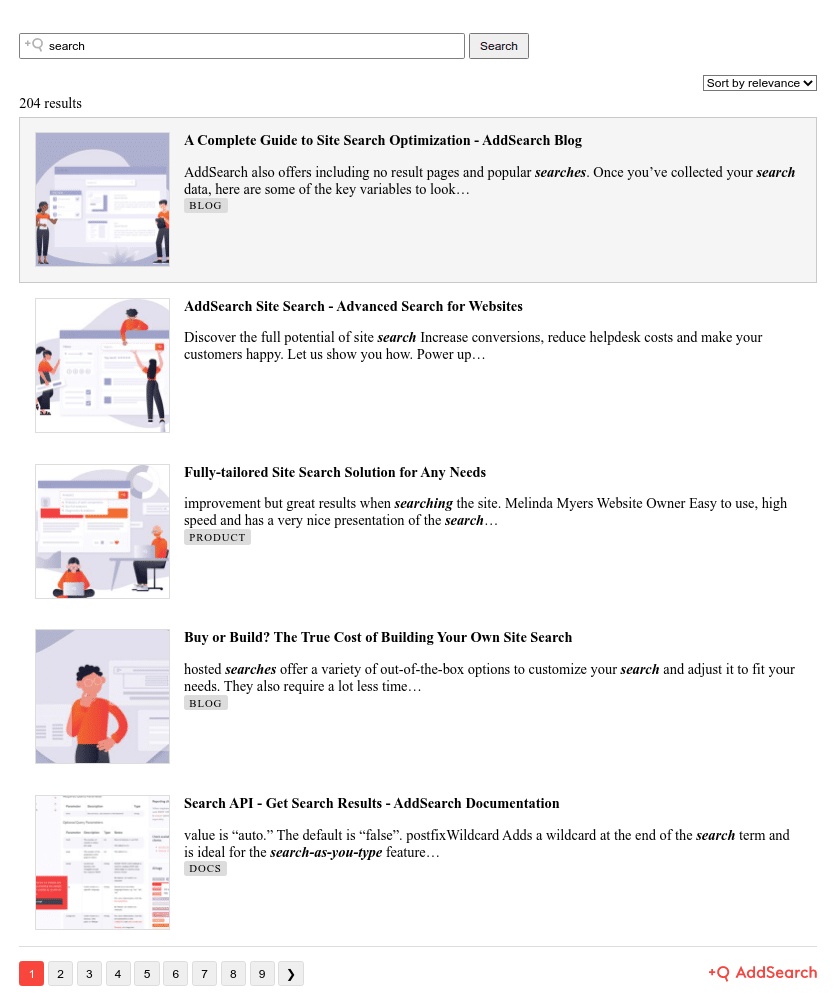
You can configure the features of the Separate results page view using the Search Designer with support for faceted filtering, automatic language detection among other features.
Instructions
Installing the Separate Results Page view contains the following steps:
- Creating the results page on your website
- Adding a search form or modifying existing search form
- Configuring the Separate Results Page view with the Search Designer and exporting the script
You can also assign the Separate Results Page view to an existing search input field with your styling or add multiple search input fields on the same page.
1. Creating the results page on your website
Creating a page depends on your CMS. Please refer to your CMS’ documentation about creating a new page or use an existing template if there is a page for search results already.
Take note of the search result page URL. You will need it in the next step when creating a new search form or modifying an existing search form.
2. Adding a new search form or modifying an existing search form
You can find the template in your CMS, usually under menus, such as “Theme,” “Template,” “Design,” “Appearance,” or similar. The templates for WordPress websites reside in the dashboard under “Appearance” -> “Editor.”
If you have an existing search on your site, go to site template edit and find your site’s search form. This is a HTML element that starts with a <form> tag, such as <form id=”search”>. Once you’ve found the relevant <form> tag, replace it and everything down to and including the closing </form> tag with the AddSearch script snippet.
The search field required for your website’s template is a simple HTML form with a search input field. The form takes the user to the search results page when the search is submitted.
The form requires two attributes, method and action. The method attribute defines how to send form data, and the action attribute specifies the URL of the search result page.
The form also requires the search input field with the name attribute. The name attribute defines the search query parameter, which, by default in Search Designer script, is search. In the following example, the URL is “/search.html”:
<!-- Form's action must be the results page's URL -->
<form method="get" action="/search.html">
  <!-- Search field's name must be the same as the search query parameter entered in the Search Designer. The default name is 'search'. -->
  <input type="text" name="search" placeholder="Search" />
</form>
3. Configuring the Separate Results Page view and exporting the script
Follow the instructions to configure the Separate Results Page and and export the installation scripts:
- Go to the Search Designer tool here
- Add your Site key to access your search index
- Configure the Separate Results Page view with available options in the Search Designer according to your preferences
- After configuring, click Apply changes to submit the changes
- Click Installation script from the top right of the Search Designer to display the Installation script prompt
- Click Copy script to copy the script to the clipboard
- Paste the script where have located on your website’s theme
- Save the settings on your theme
Here is an example of how the script might look like (the site key is replaced with ####):
<script>
  window.addsearch_settings = {
    "arp_01": {
      "show_search_suggestions": false,
      "automatic_match_all_query": false,
      "default_sortby": "relevance",
      "display_category": true,
      "display_date": false,
      "display_meta_description": false,
      "display_results_count": true,
      "display_result_image": true,
      "display_url": false,
      "display_sortby": true,
      "link_target": "_self",
      "hide_logo": false,
      "direction": "ltr",
      "analytics_enabled": false,
      "automatic_filter_results_by_site_language": false,
      "facets": {}
    }
  }
</script>
<script src="https://cdn.addsearch.com/v5/addsearch-ui.min.js?key=####&type=search_results_page&id=arp_01"></script>
Using your own search field
You can use an existing search input field with your styling.
Start with the instructions about 2. Adding a new search form or modifying an existing search form and 3.Configuring the Separate Results Page view and exporting the script.
After adding the script to your page, assign the Search Results Page functionality to your search input field by adding the attribute data-addsearch-id=”placeholder-id” within your search input tag.
This ID should match the IDs at the start of the window.addsearch_settings object and the parameter at the end of the installation script. The default ID generated by the Search Designer is arp_01.
Here is an example of how the script might look like (the site key in the example is replaced with ####):
<input data-addsearch-id="arp_01" />

<script>
  window.addsearch_settings = {
    "arp_01": {
      // your settings here
    }
  }
</script>

<script src="https://cdn.addsearch.com/v5/addsearch-ui.min.js?key=####&id=arp_01"></script>
Please note that using your search field requires locating the script anywhere on the page source below the search input field.