
AddSearch Recommend allows you to display recommendations to your users according to the rules set up in the AddSearch dashboard. To add a recommendation widget to your website, follow these instructions.
Publish the widget
Before adding the recommendations widget to your website, you need to configure and publish it in the AddSearch dashboard. Here is how you can do it:
- Create a new AddSearch Recommend widget.
- Configure the required parameters.
- Save the widget by clicking the “Save and preview” button.
- Publish the widget by clicking the “Publish” button.
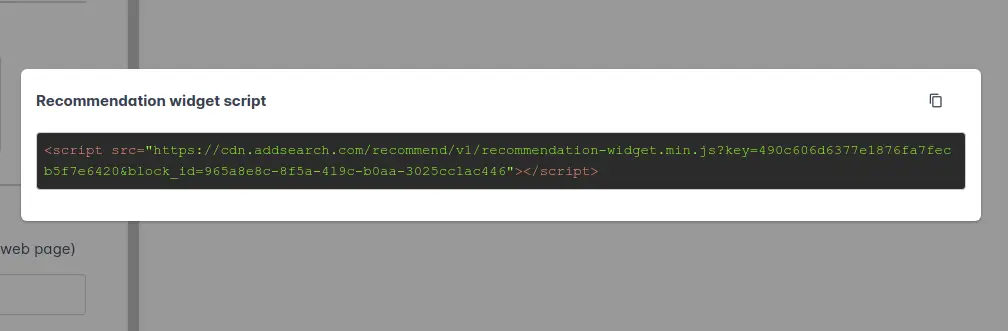
When the widget is published, you will see the installation script that can be copied to the clipboard.
Add the code to your website
The recommendation widget installation code is a one-line script element that needs to be pasted into your website’s template or the page’s source code where you want the recommendations to appear. You can find the template in your CMS, usually under menus such as “Theme,” “Template,” “Design,” “Appearance,” or similar. For WordPress websites, the templates reside in the dashboard under “Appearance” -> “Editor.” Here is an example of the installation snippet code:
<script src="https://cdn.addsearch.com/recommend/v1/recommendation-widget.min.js?key=xxx&block_id=f4bd0d30-1111-aaaa-9ad7-d87f88e06928"></script>
If you are installing a product recommendation widget, make sure that the code is added to the product pages containing the product ID according to the configuration of your widget. These articles might be helpful during the configuration:
- Guidelines for product widget and global widget configuration
- How to find a CSS selector for your product SKU or ID
If you encounter difficulties during the installation process, do not hesitate to contact us at [email protected].