Personalization allows for tailoring search results for each visitor using their past search behavior. You can configure Personalization as well as preview the personalized search results in the AddSearch dashboard.
Please note that you need to implement sending user token cookies on your web site’s search instance with REST API or Search UI Library. For more information on the implementation, please visit our documentation here.
Instructions
Utilize Personalization with these steps: 1.) Configuring Personalization, and 2.) Previewing the personalized search results.
1. Configure personalization
- Log in to your AddSearch account
- Go to Personalization page under Manage results
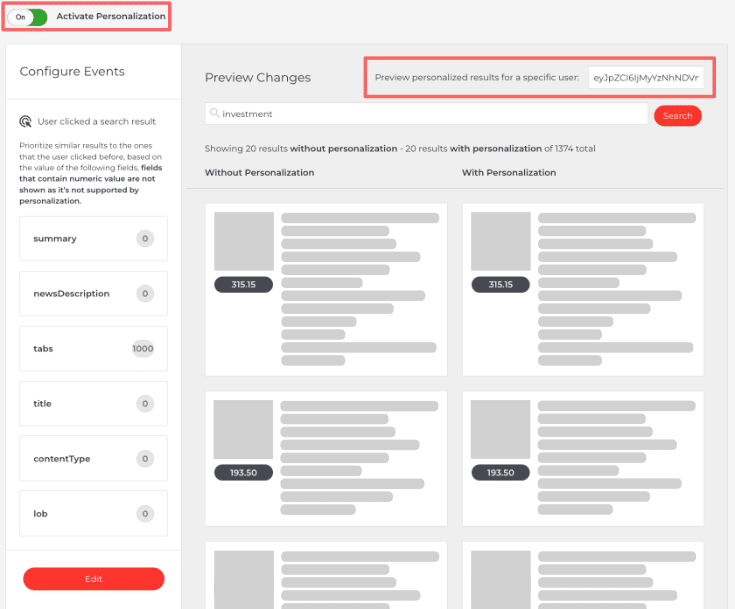
- Enable Personalization using the toggle next to Activate Personalization
- Click the Edit button under the list of fields to configure events
- Use sliders to change the values
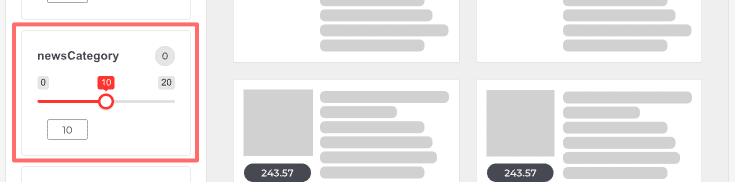
If a user clicks on a search result where the newsCategory custom field value is ‘Global’, all pages with the newsCategory value set to ‘Global’ receive a boost. This means that in future searches, pages with ‘Global’ in their newsCategory field will appear higher in the search results.
Also, pages with different newsCategory custom field values won’t receive the same boost. For instance, if a page has the newsCategory value set to ‘Local’, it won’t be boosted because the user has shown preference for ‘Global’ news.
Please note that the Personalization feature does not support custom fields containing numeric values.
- Click
- Save changes button to submit changes
- Cancel button to discard the changes
- Restore to defaults button to apply default values

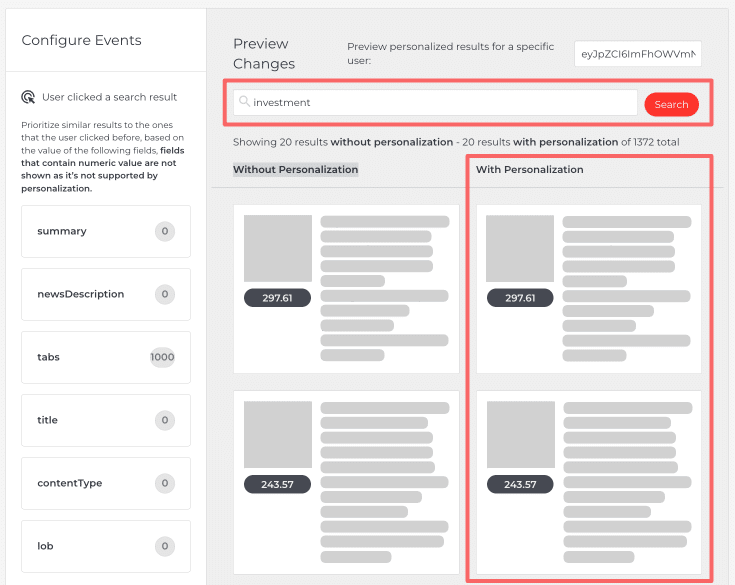
2. Preview personalized search results
After configuring Personalization, you can preview the personalized search results displayed under the With Personalization column next to Without Personalization column. To display the personalized results add the user token in the input field next to label Preview personalized results for a specific user.