Custom Fields Boost
The custom fields boost feature allows for selecting a custom field range and amplifying the visibility of documents matching the selected custom field range.
The custom fields boost feature helps target products, for example, with a specific range of star ratings or a price range.
For instance, if you sell products in differently priced tiers, Custom fields boost lets you amplify the visibility of any of the tiers separately.
Please note that using the Custom fields boost, the fields require numeric values.
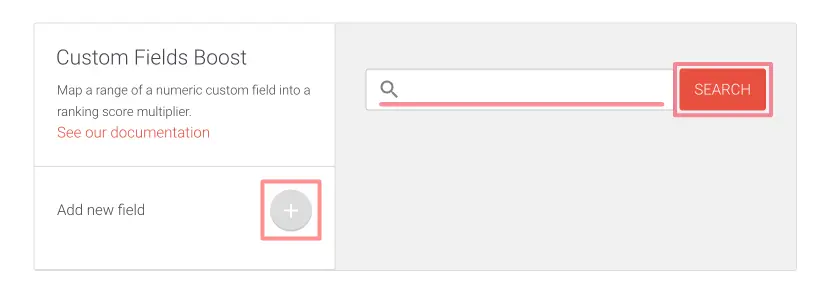
Custom fields boost user interface
The Custom fields boost user interface consists of the + button used to enter the edit mode and add new fields to boost.
After making a search query with the search field, you can see how the Custom fields boost affects the search results.
Adding Custom fields boost values
In the Shopify admin:
- Go to Intelligent Search & Filter app page
- Click Go To Your AddSearch Dashboard button to open the AddSearch dashboard
In the AddSearch dashboard:
- Go to Ranking tools under Manage results
- Click the Custom fields boost link
- Click + button to add a new custom field
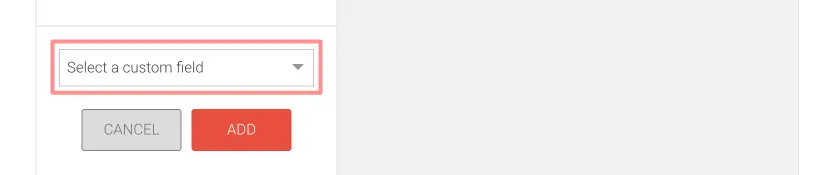
A drop-down menu appears.
- Click Select a custom field from the dropdown menu
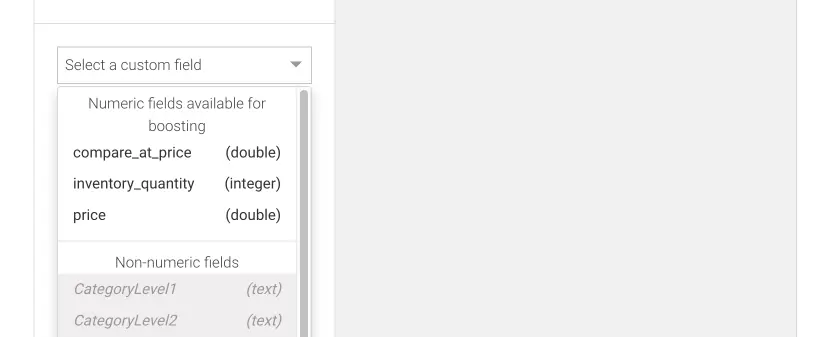
A list of available custom fields appears.
- Click an available field you want to add for boosting
- Click
- Add button to add the field
- Or Cancel button to cancel changes

After clicking the Add button, the Custom fields boost editor appears.
- Use the sliders or enter numbers to the input fields to change the values
- Use the switch to preserve or invert boost range
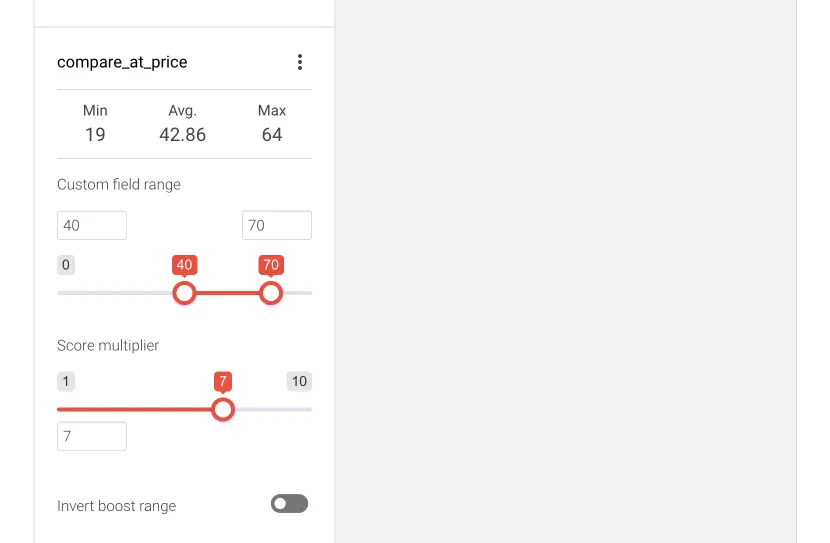
In the screenshot, the range starts with the value 40 and ends with the value 70. The starting value (40) is multiplied by one, and the ending value (70) by seven as set in the score multiplier. All the values between 40 and 70 are multiplied linearly between 1 and 7.
- While in editor mode click + button to add another custom field

- After adding custom fields click
- Save button to save changes
- Or Cancel button to cancel changes

Renaming and deleting a field
After adding custom fields for boosting you have the option to Edit field and Delete field. The options are available from the three dots menu in the field element.
- Click the three dots menu and click
- Edit field link to change the configuration and click
- Save button to save changes
- Or Cancel button to cancel changes
- Or Delete field link to delete the field immediately
- Edit field link to change the configuration and click

Was this helpful?
Need more help?
We’re always happy to help if you couldn’t find an answer in our documentation. Feel free to contact our support or connect with the sales team.